Our Process

From initial consultation to raising and enclosure, follow along to see how we work with you to create the structure of your dreams.
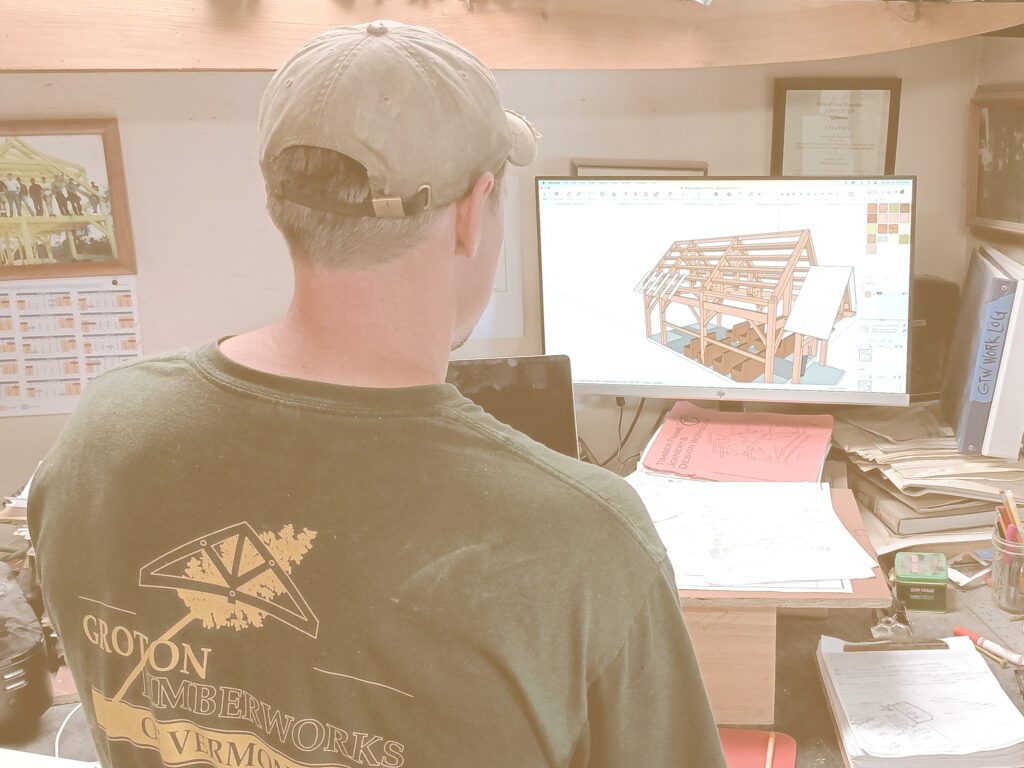
Design
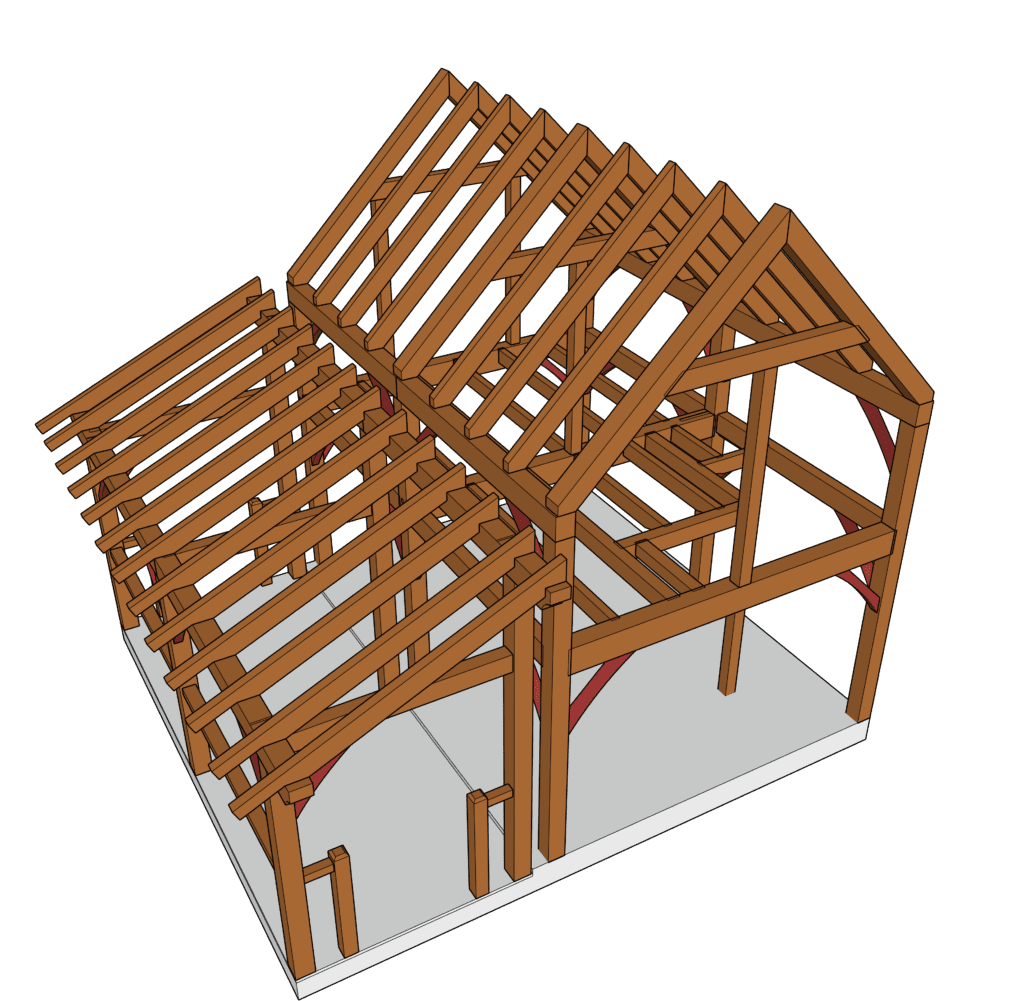
Based on your project information, our design team creates three dimensional drawings of the frame on the computer. After customer approval, these drawings are used to generate individual cut sheets for each timber of the frame.
Cutting the Frame
Once your design is finalized and approved, we create a list of all the timbers required for the frame. These are then ordered from a local sawmill.
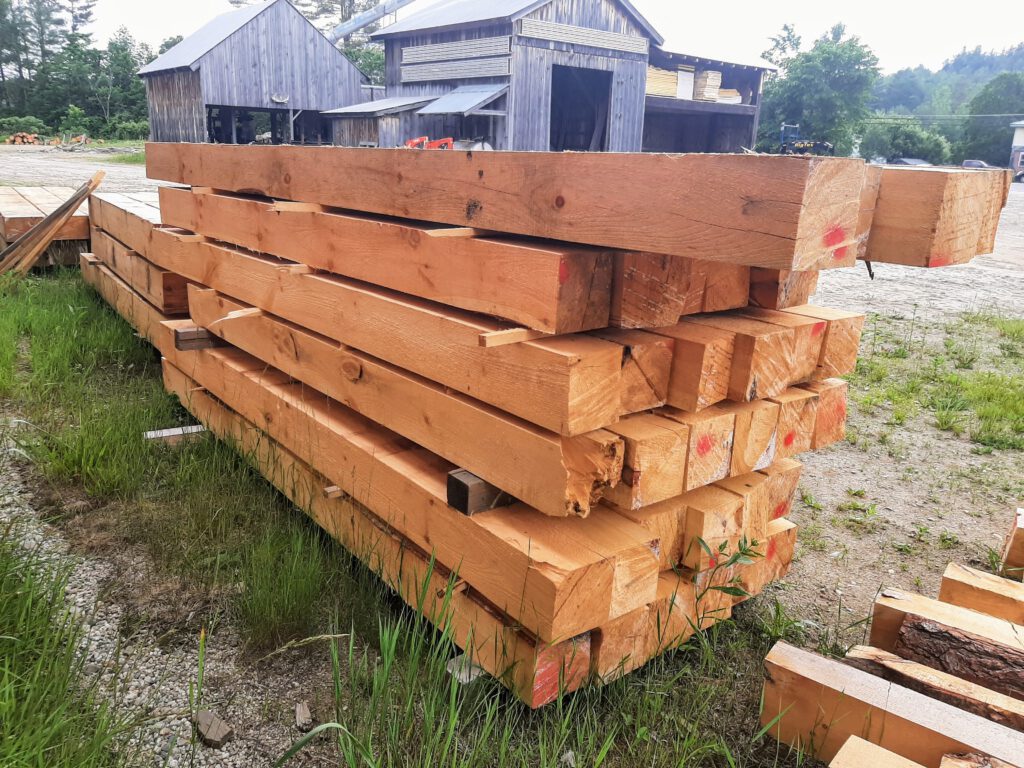
It’s all hands on deck as we run the roughsawn timbers through the timbersizer to plane them down to their finished dimensions.

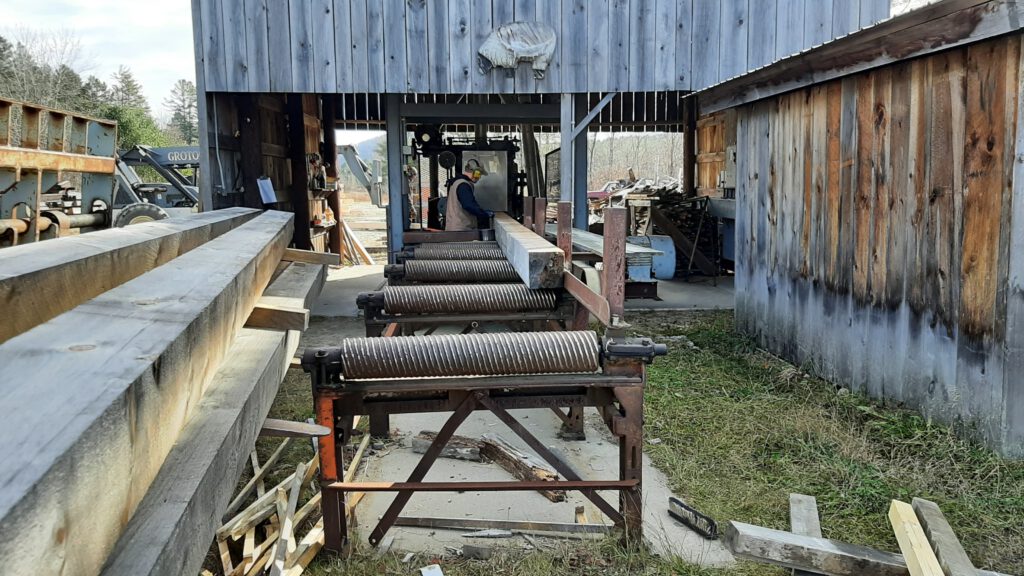
We then assign a cut sheet to each timber detailing overall dimensions and joinery locations. The timbers are then cut to length and joinery marked out.
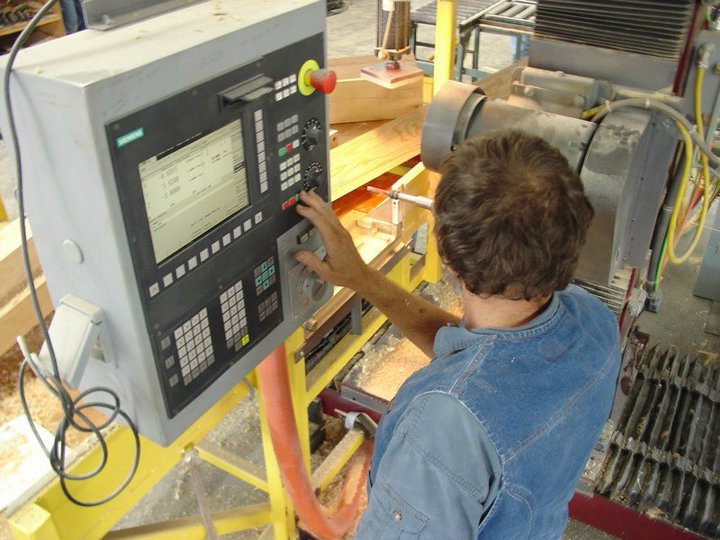
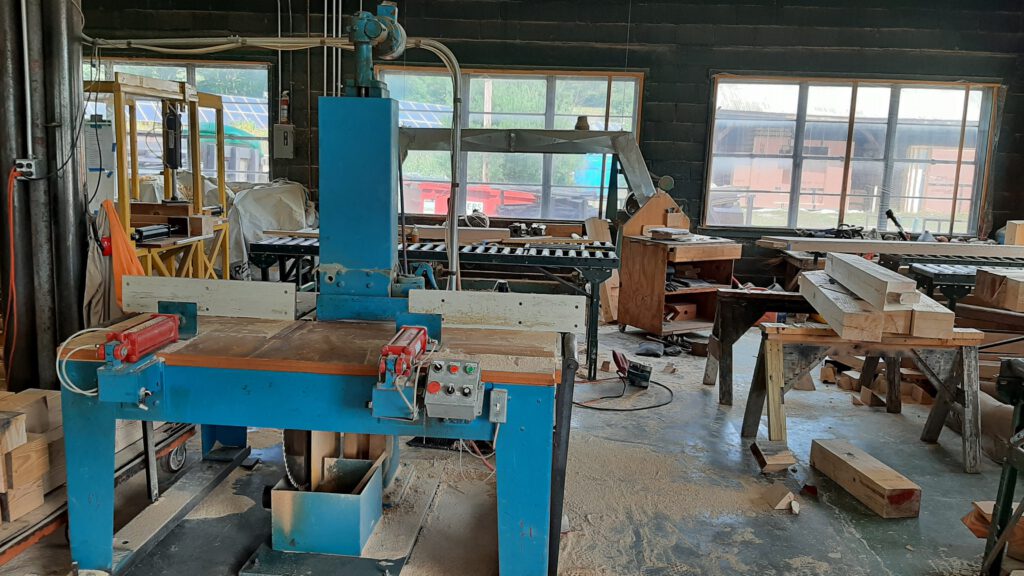
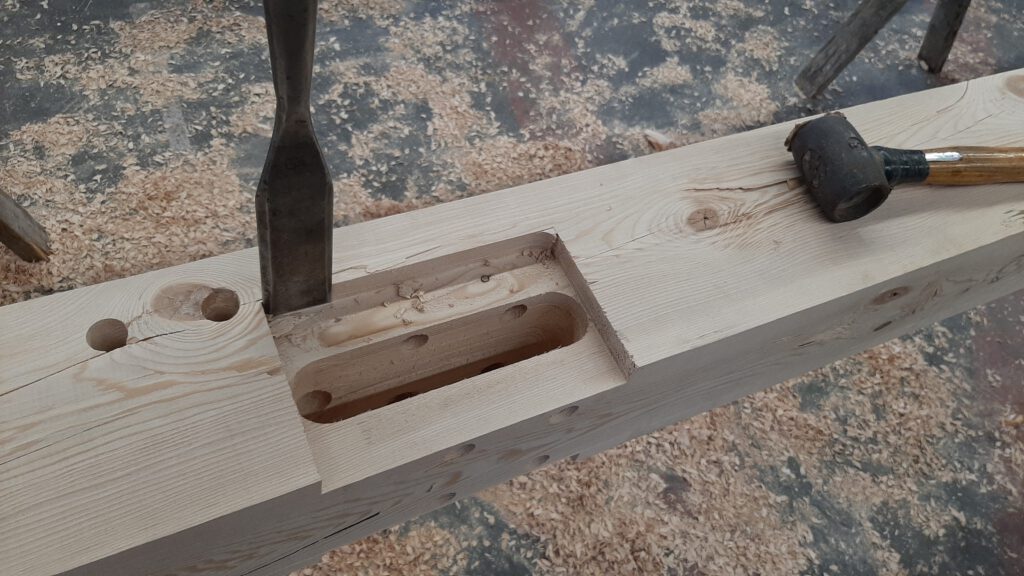
Then it’s off to the CNC or portable bandsaw to remove the bulk of the material from mortises and tenons. The joinery is then cleaned by hand with mallet and chisel.
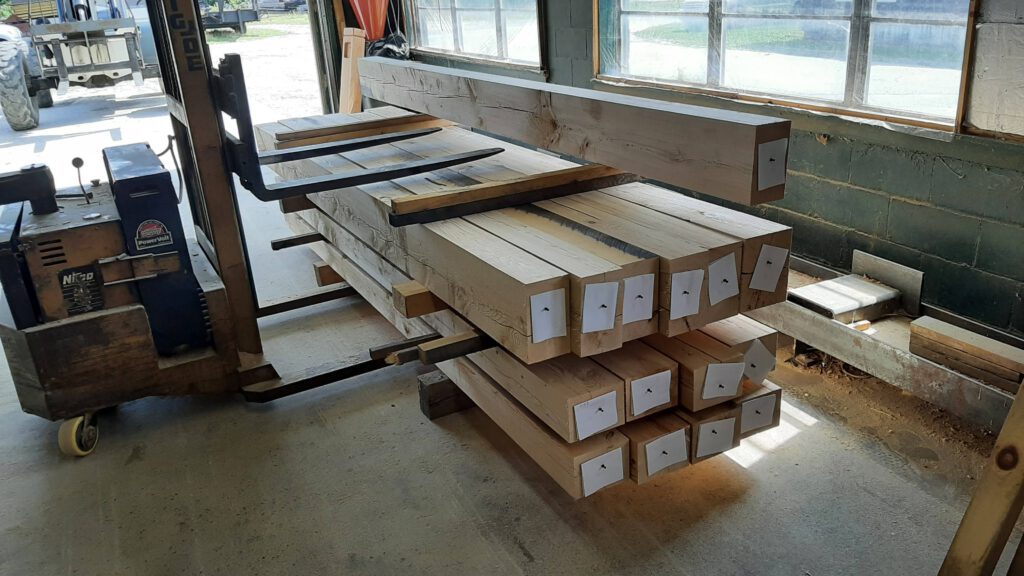
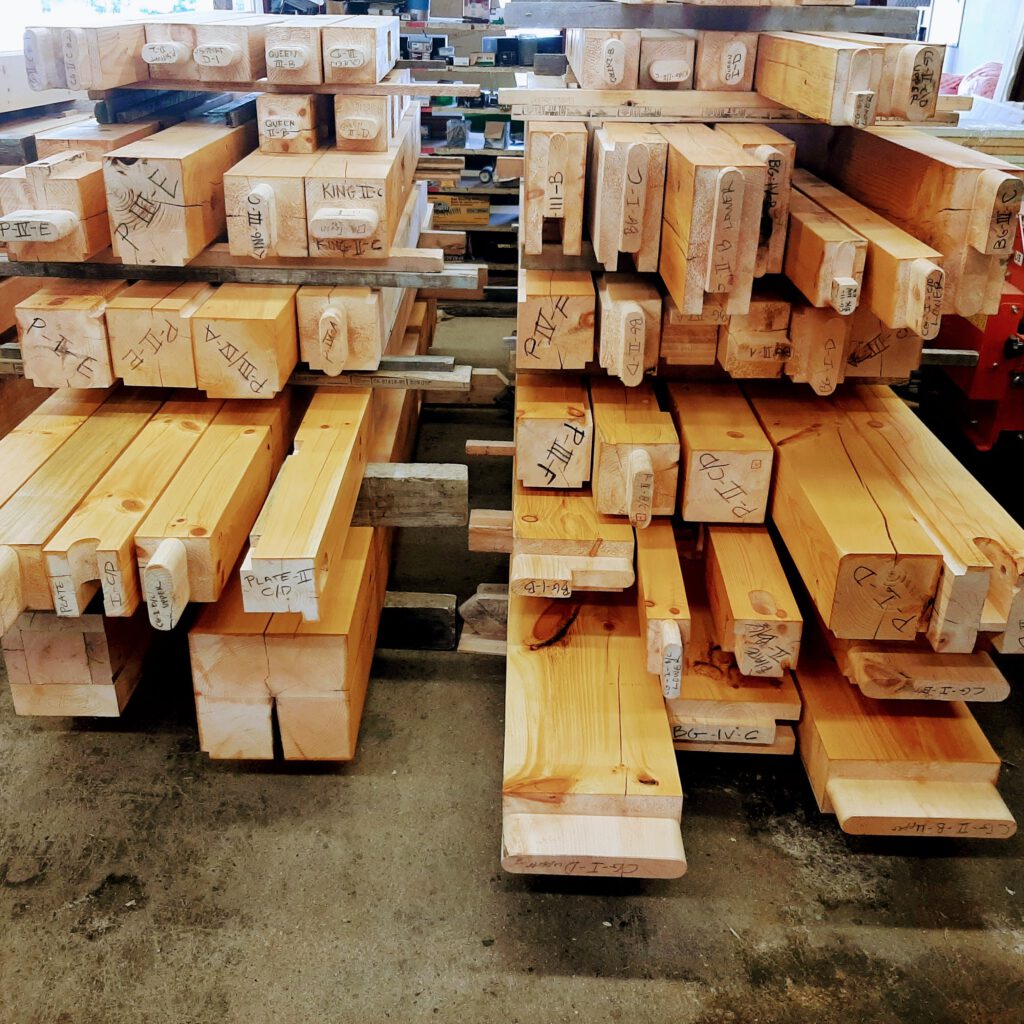
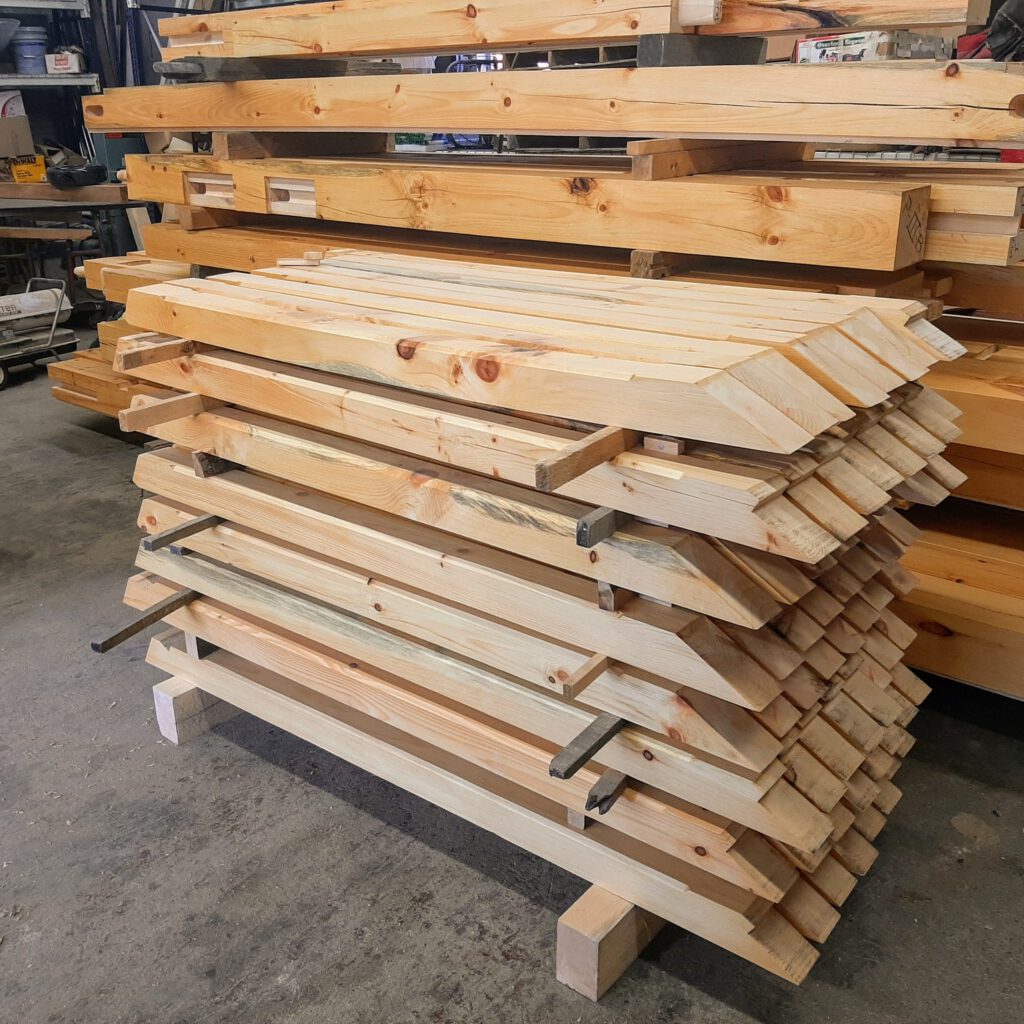
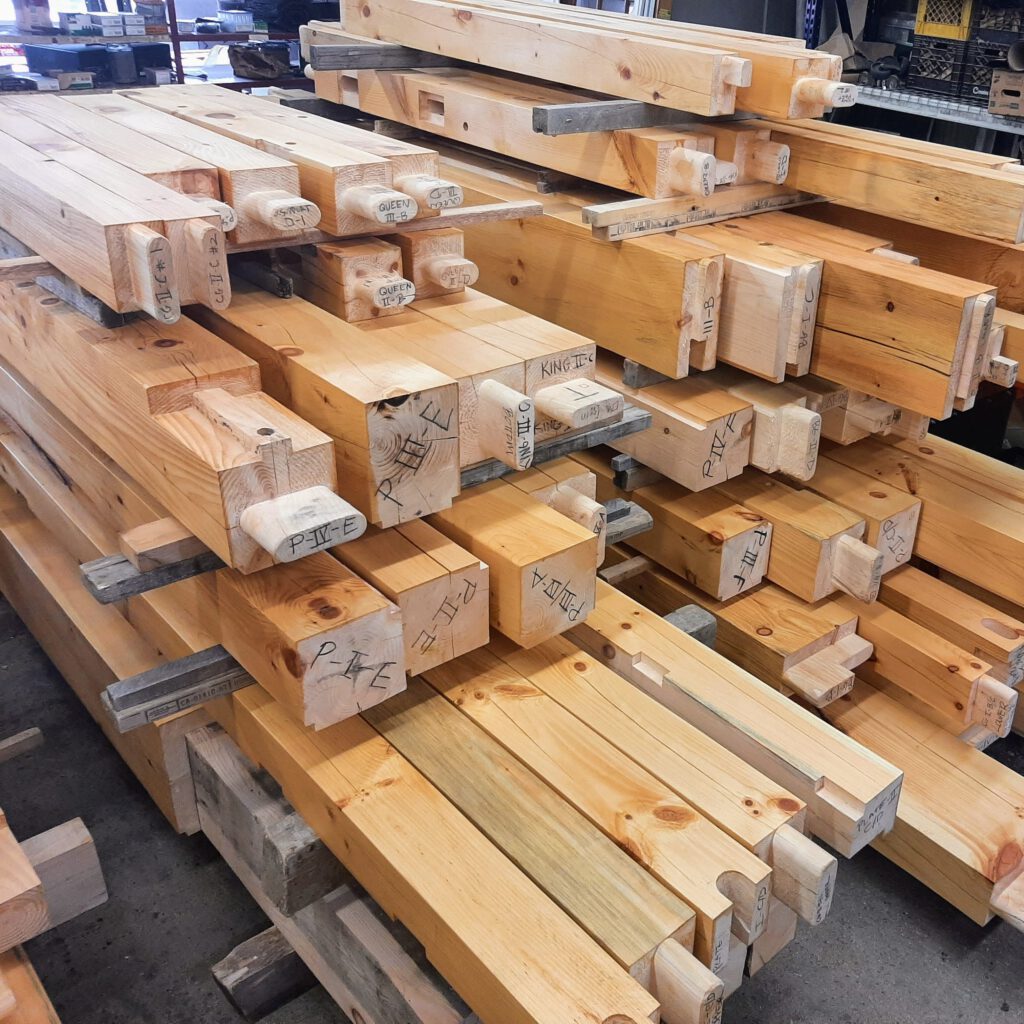
Each timber is then carefully sanded and chamfered, given a final check, and packaged for pickup or delivery.
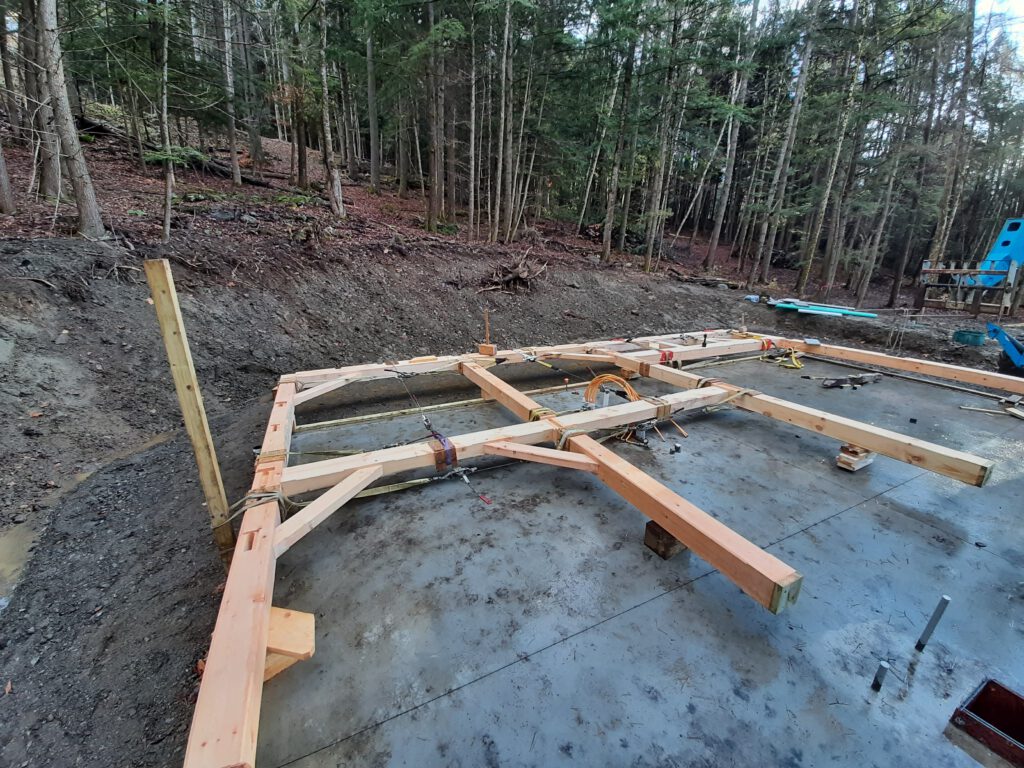
Raising the Frame
Now that your frame has been cut its time to raise it!
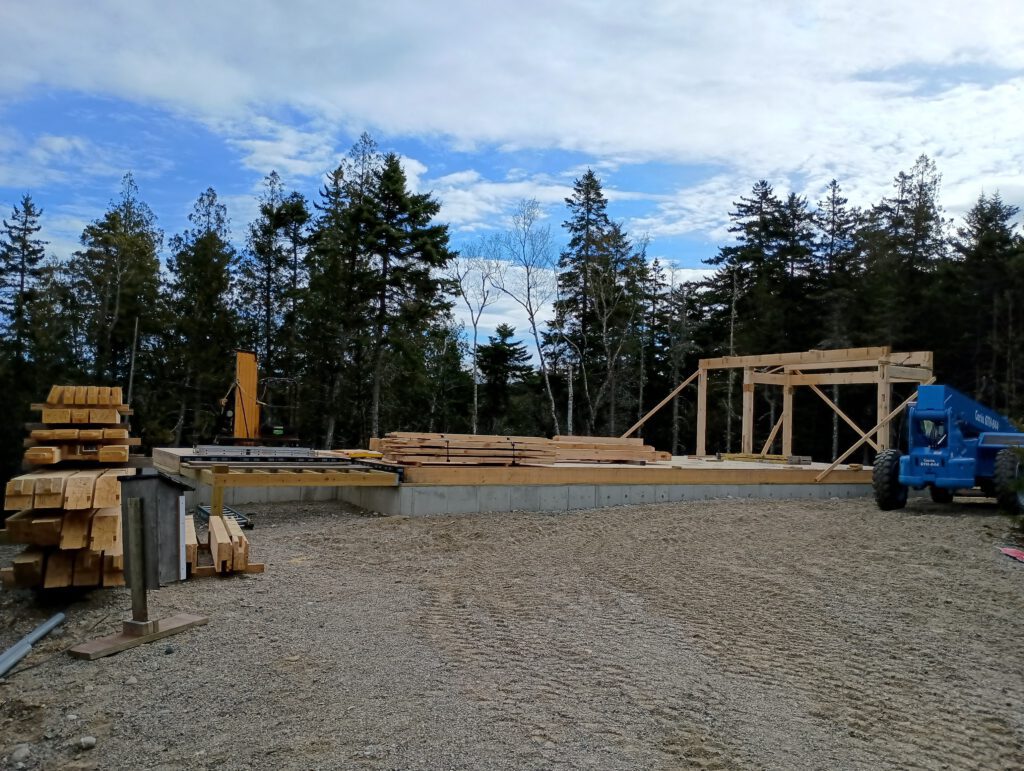
First we stage all the timbers and lay out the post locations. We then typically assemble one wall, raise it, hang the girts and raise the next wall.
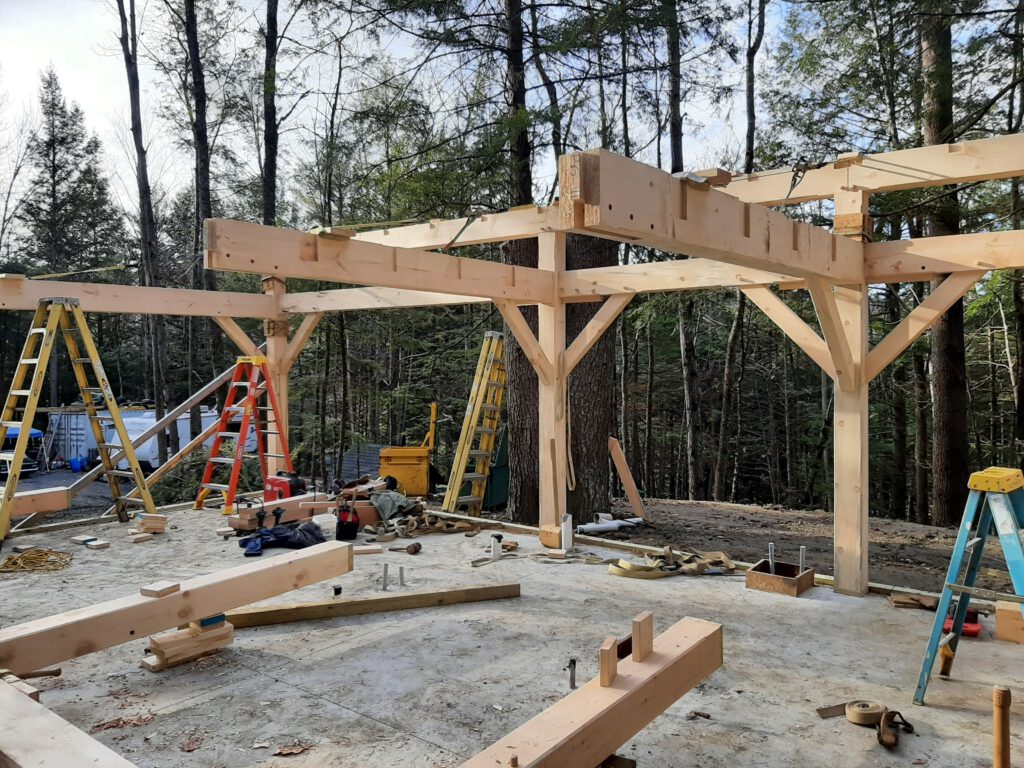

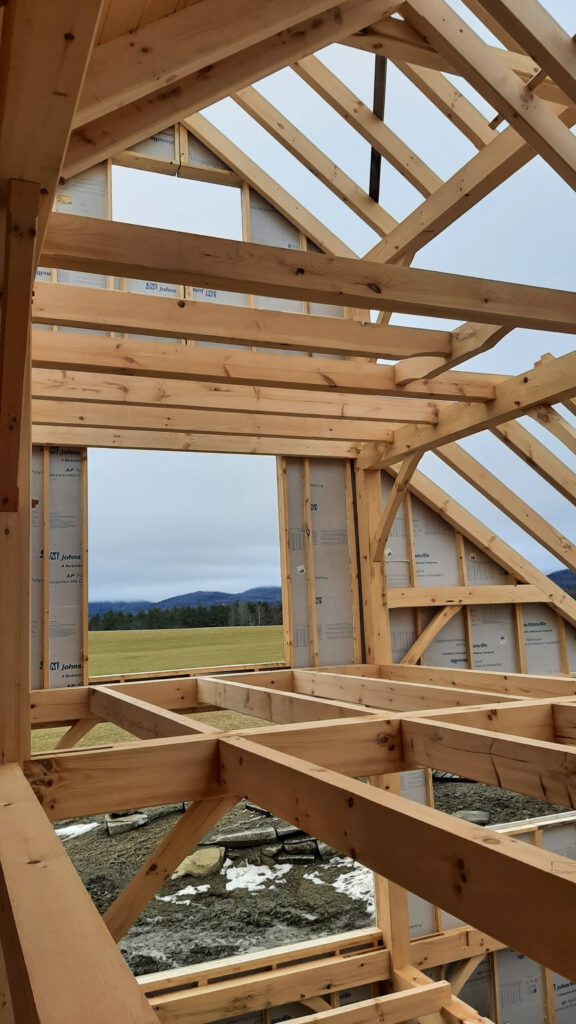
We then fly the rafters and assemble the roof structure.
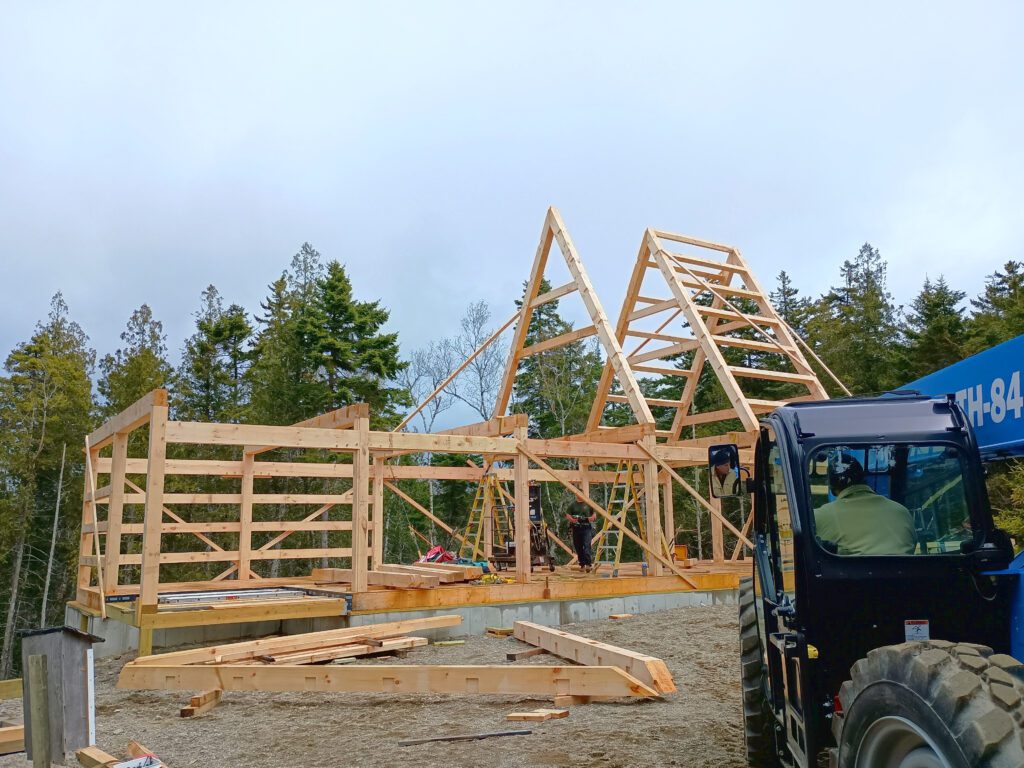
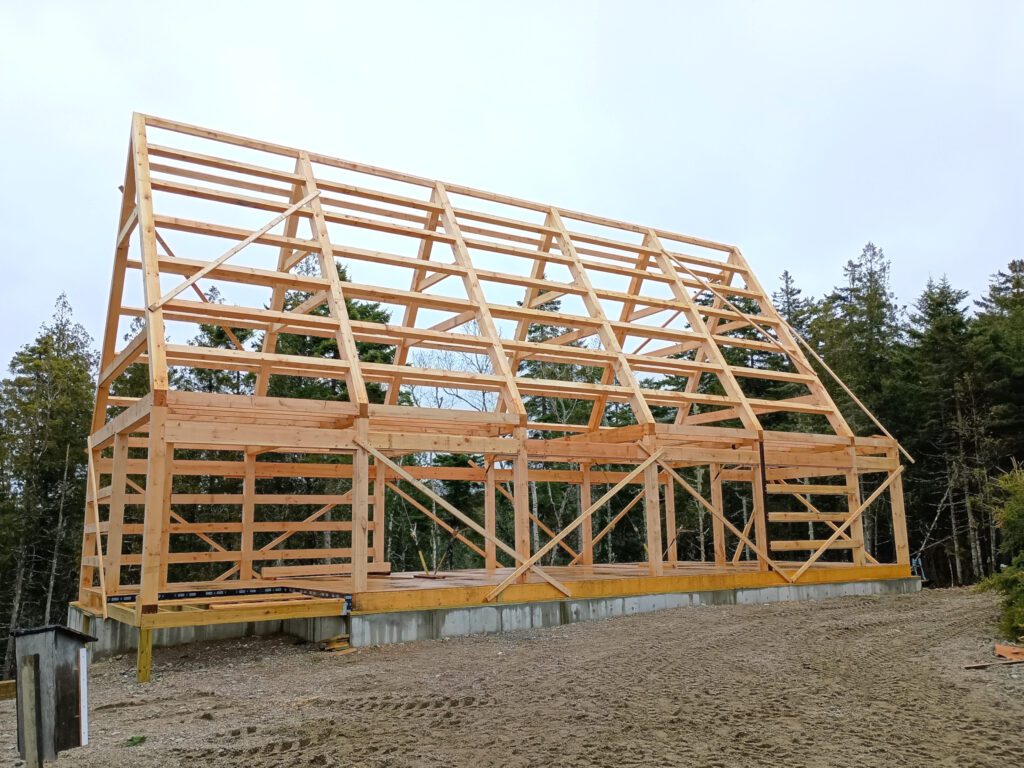
Raising is strenuous labor, but probably the best part of the job! Seeing all your hard work become a solid structure is very rewarding.
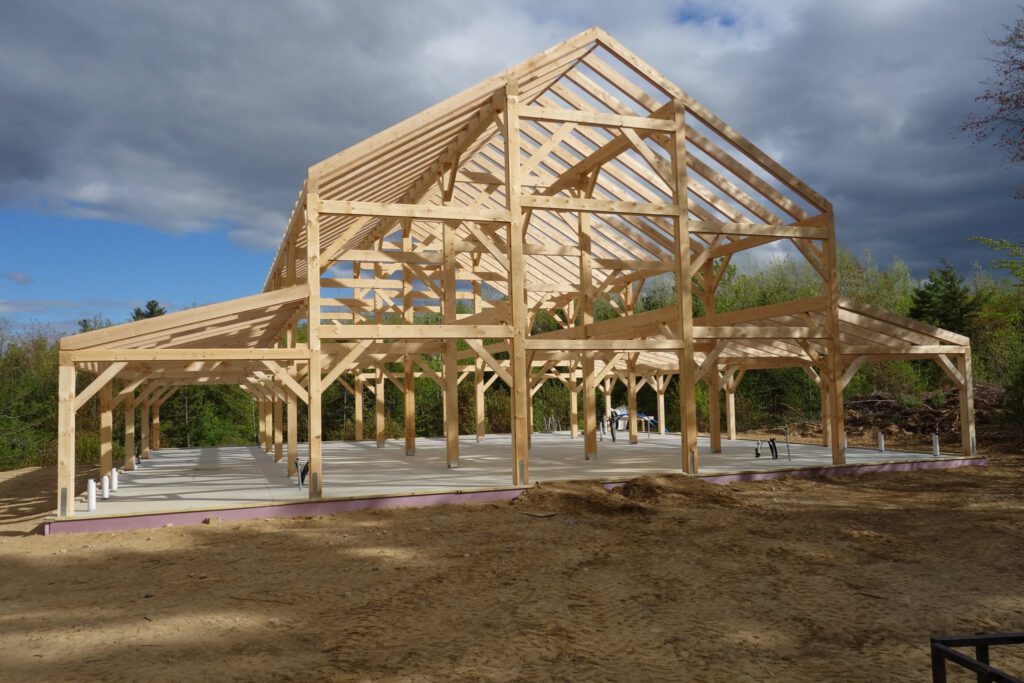
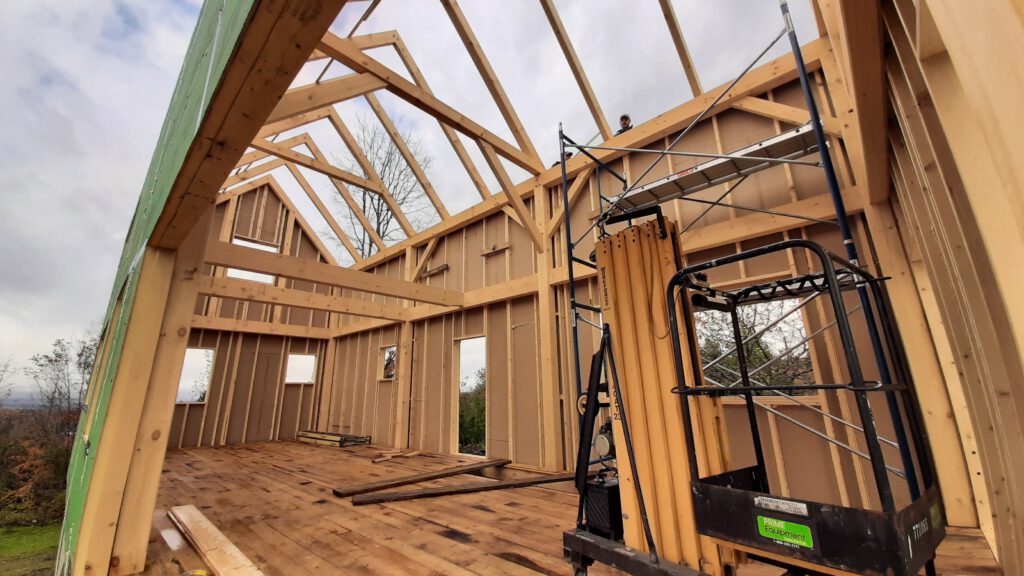
At this stage we either turn the project over to the general contractor to enclose the frame, or proceed with our own wall and roof systems.
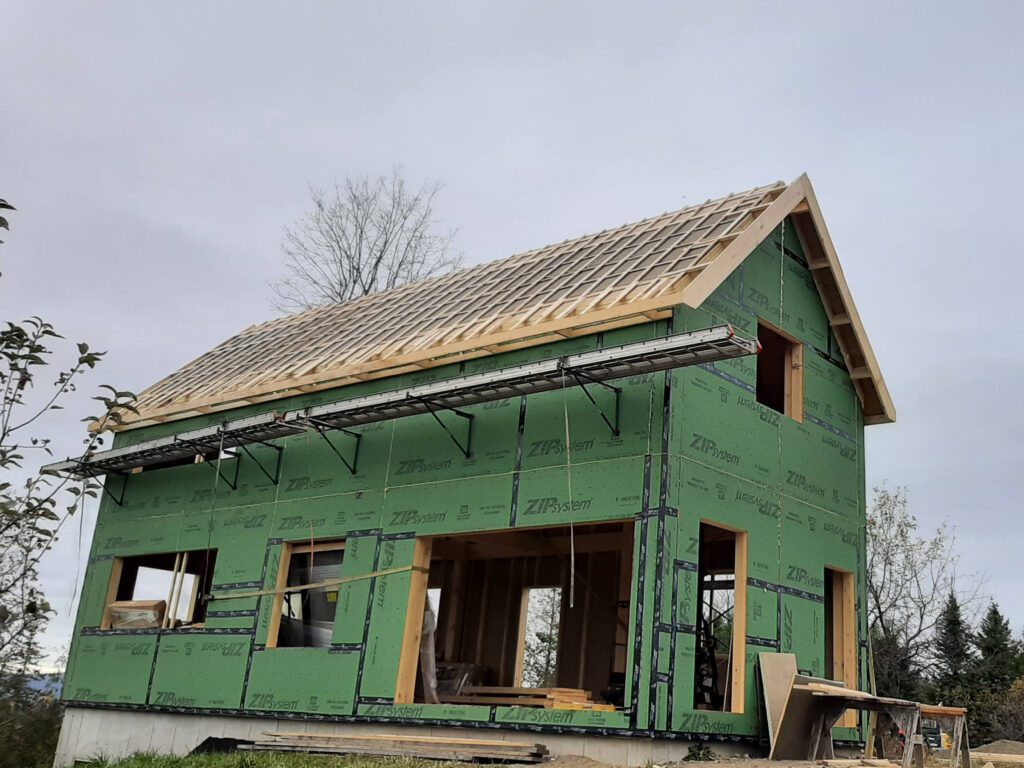
Enclosing the Frame
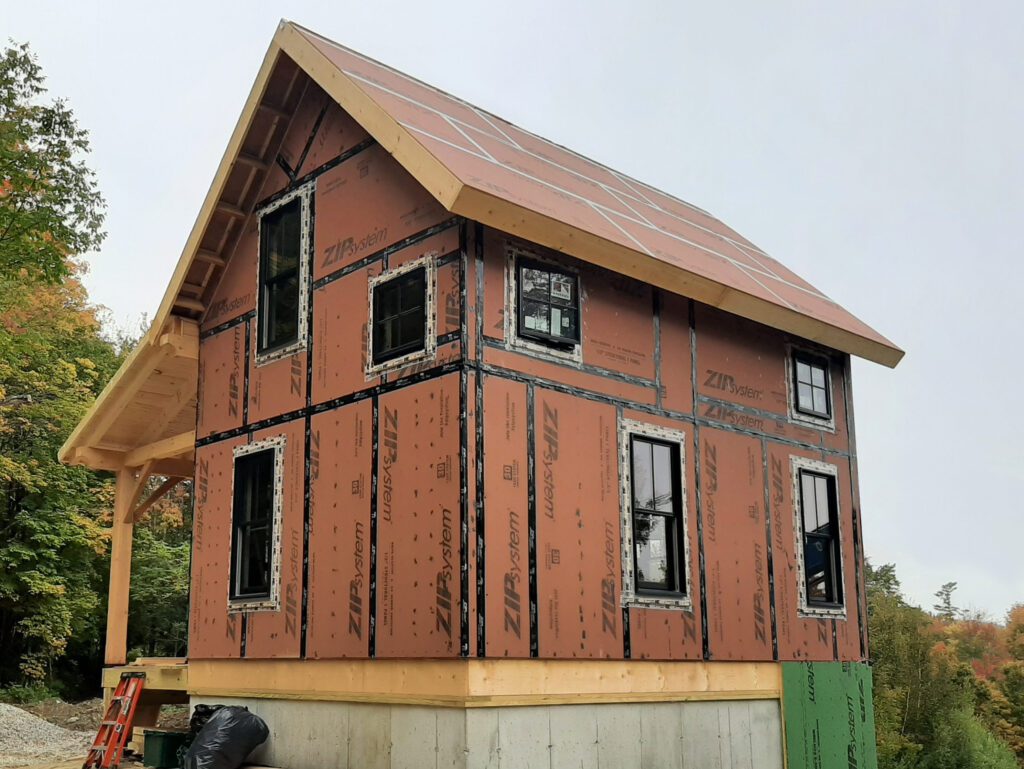
Once the frame is erected, it needs to be enclosed to protect it from the elements. While there are multiple ways to do this, we have developed insulated wall panels and a roof system that work together to create a highly energy efficient home.

These systems meet Vermont energy code or whatever your specifications require.
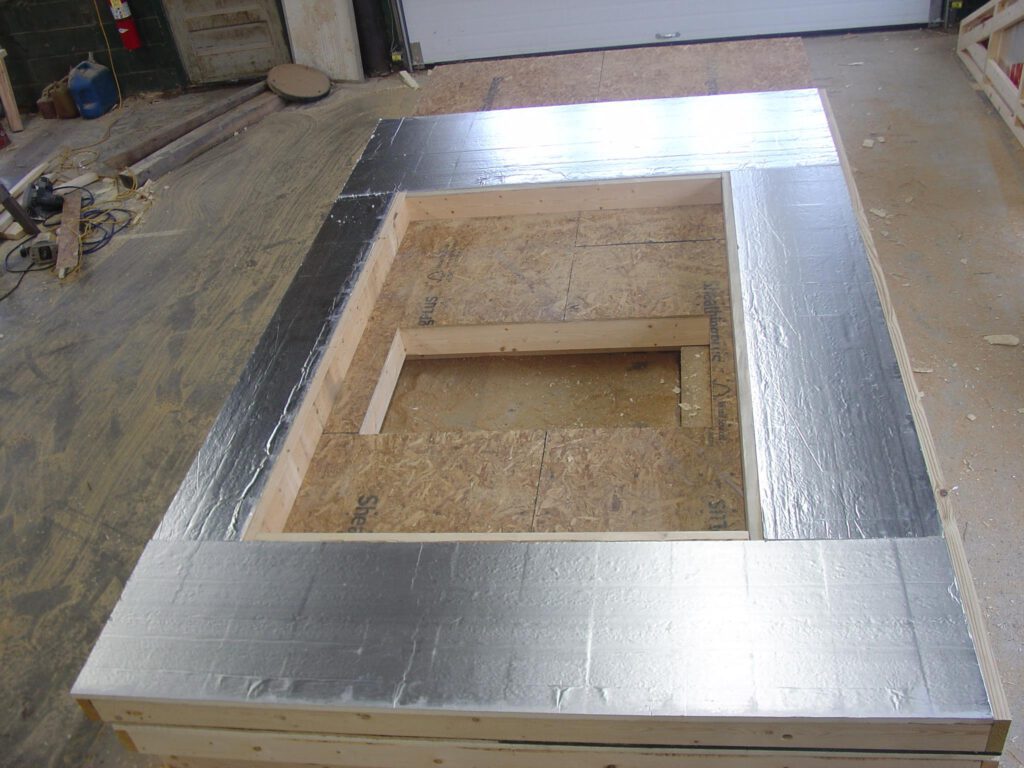
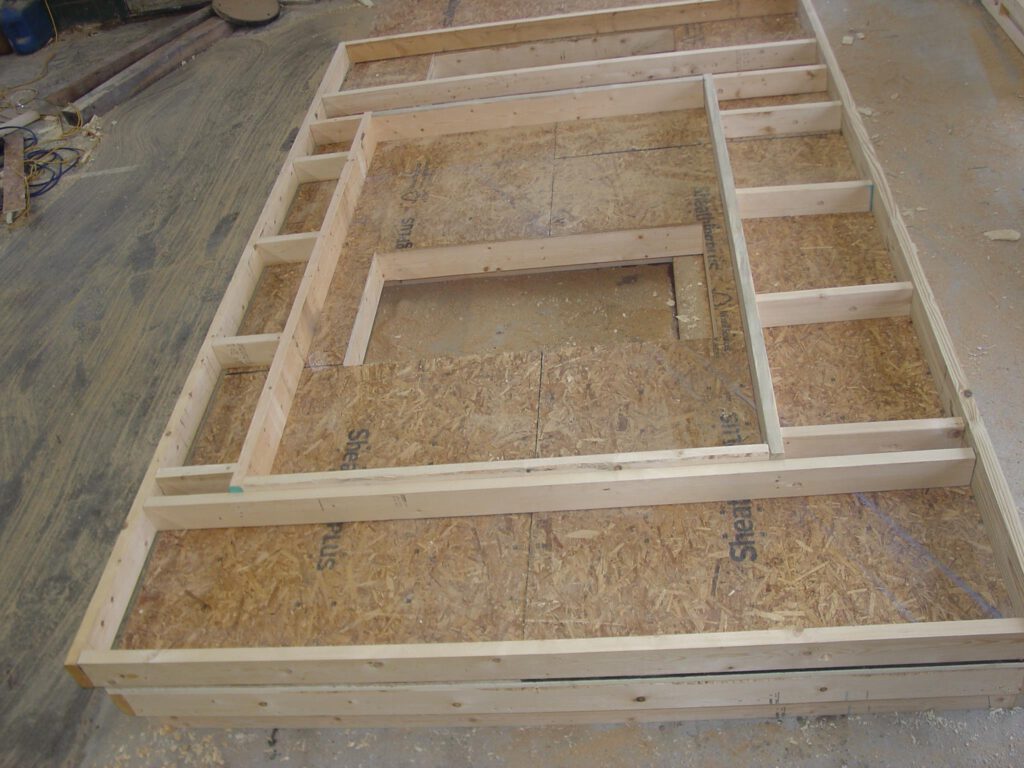
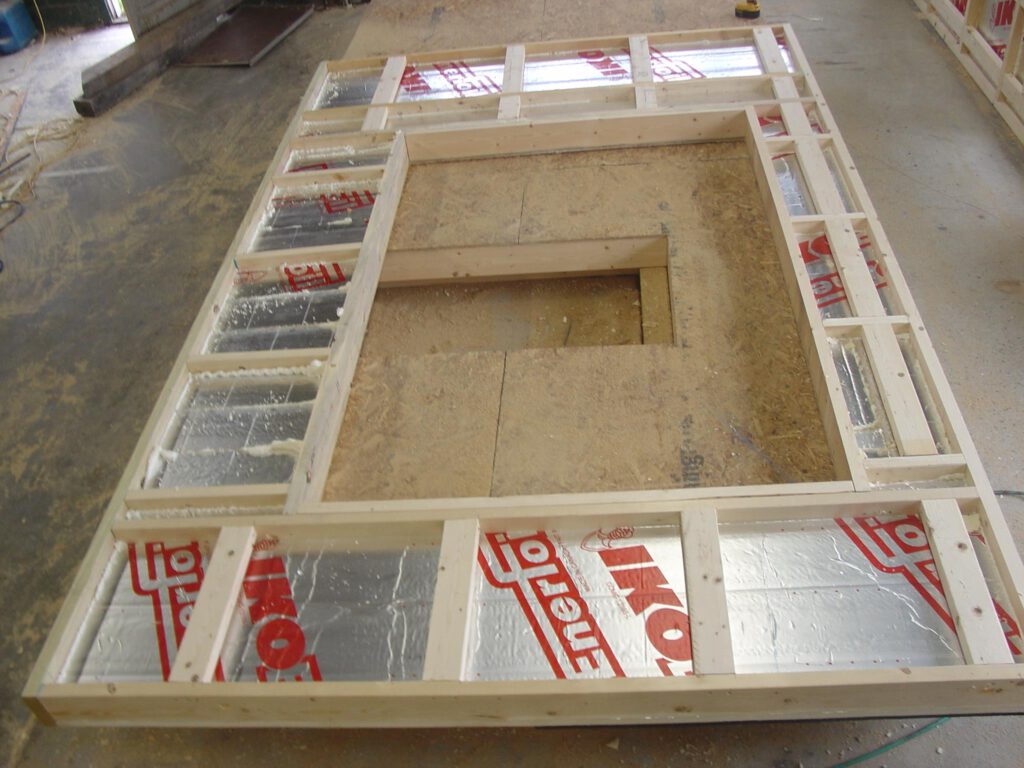
We build our wall panels with conventional framing. This allows for electrical, plumbing, etc. to be more easily installed than with SIP wall panels. We insulate with ridged polyiso foam both interior and exterior to the studs.
These panels are then attached to the frame with specially designed screws.

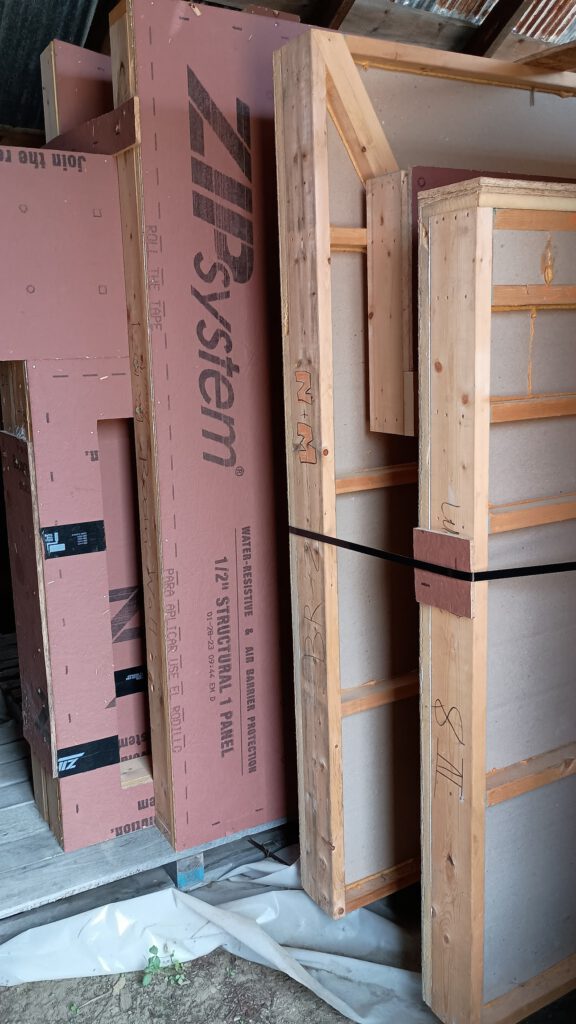
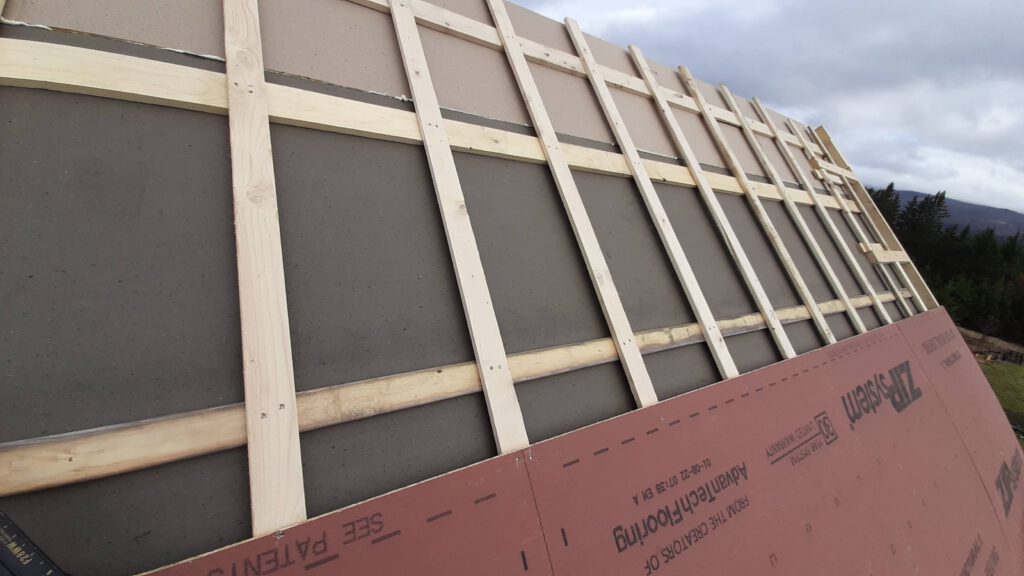
Then we install tongue and groove directly on the rafters and build up polyiso insulation on top of that.
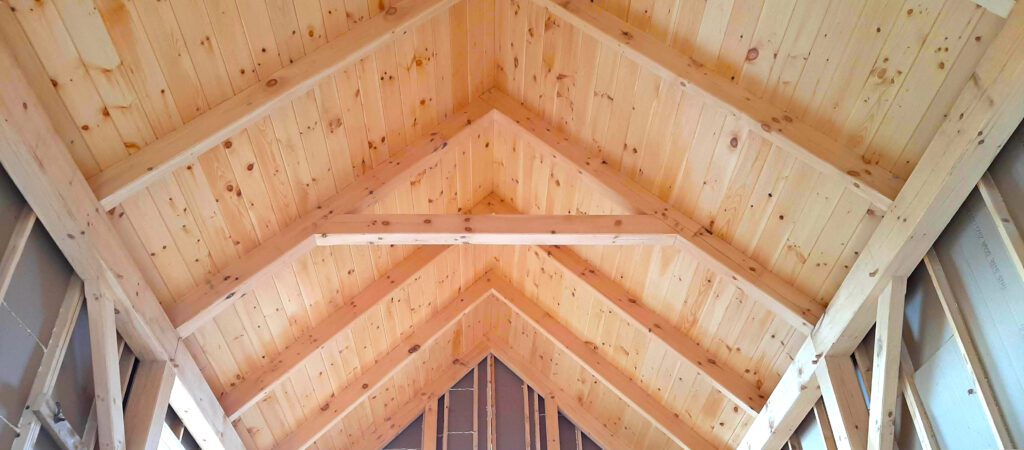
The polyiso foam is held in place with a grid of strapping and sheathed with zip plywood.
Windows can then be installed (usually by your general contractor), and the building is tight to the weather.
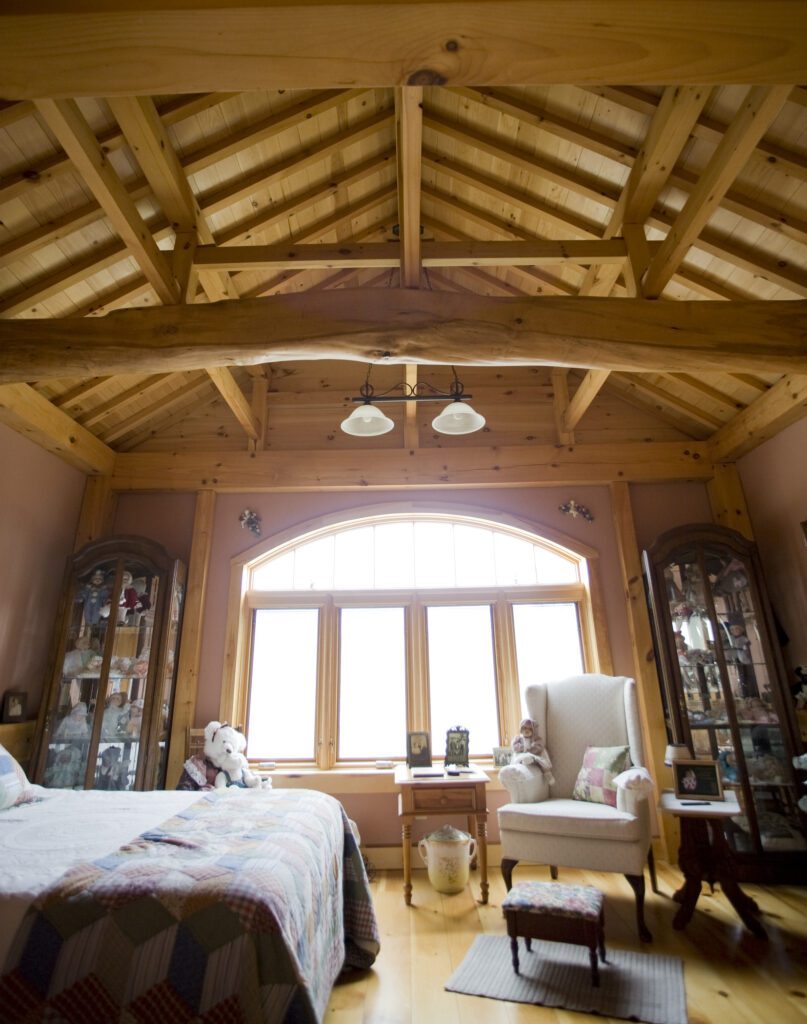
Finishing the Building
Now that your structure is enclosed, we turn the rest of the process over to your general contractor for finishing.
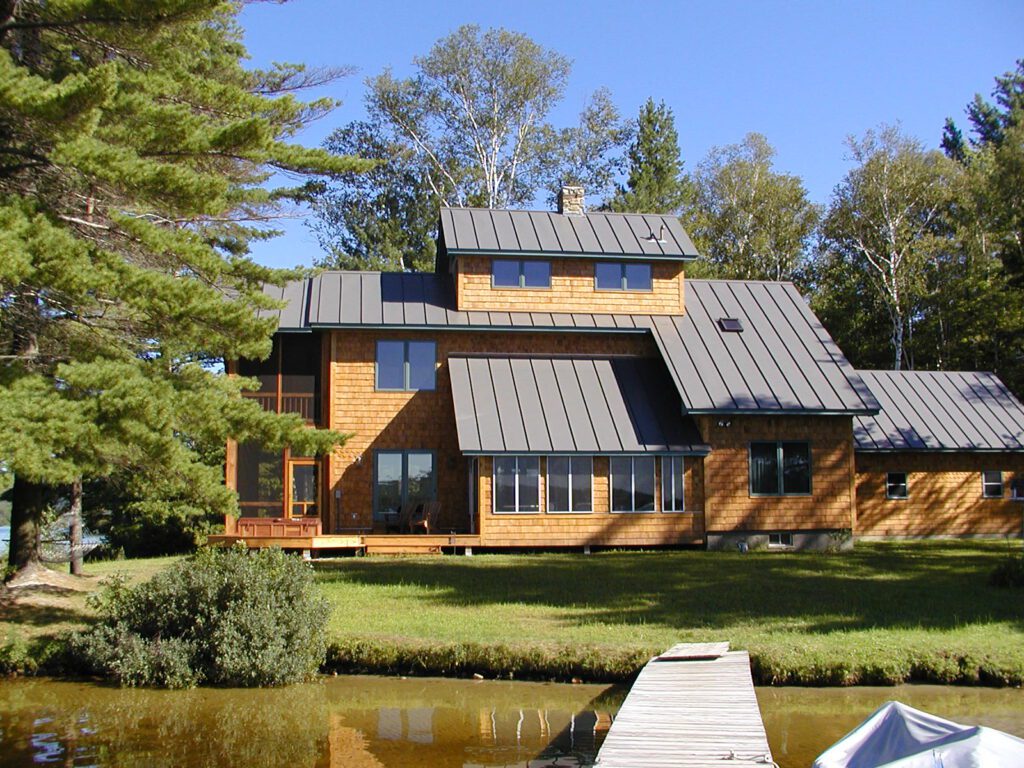
It’s time to add roofing, siding, drywall, lights, flooring trim etc. to really make this structure yours!